
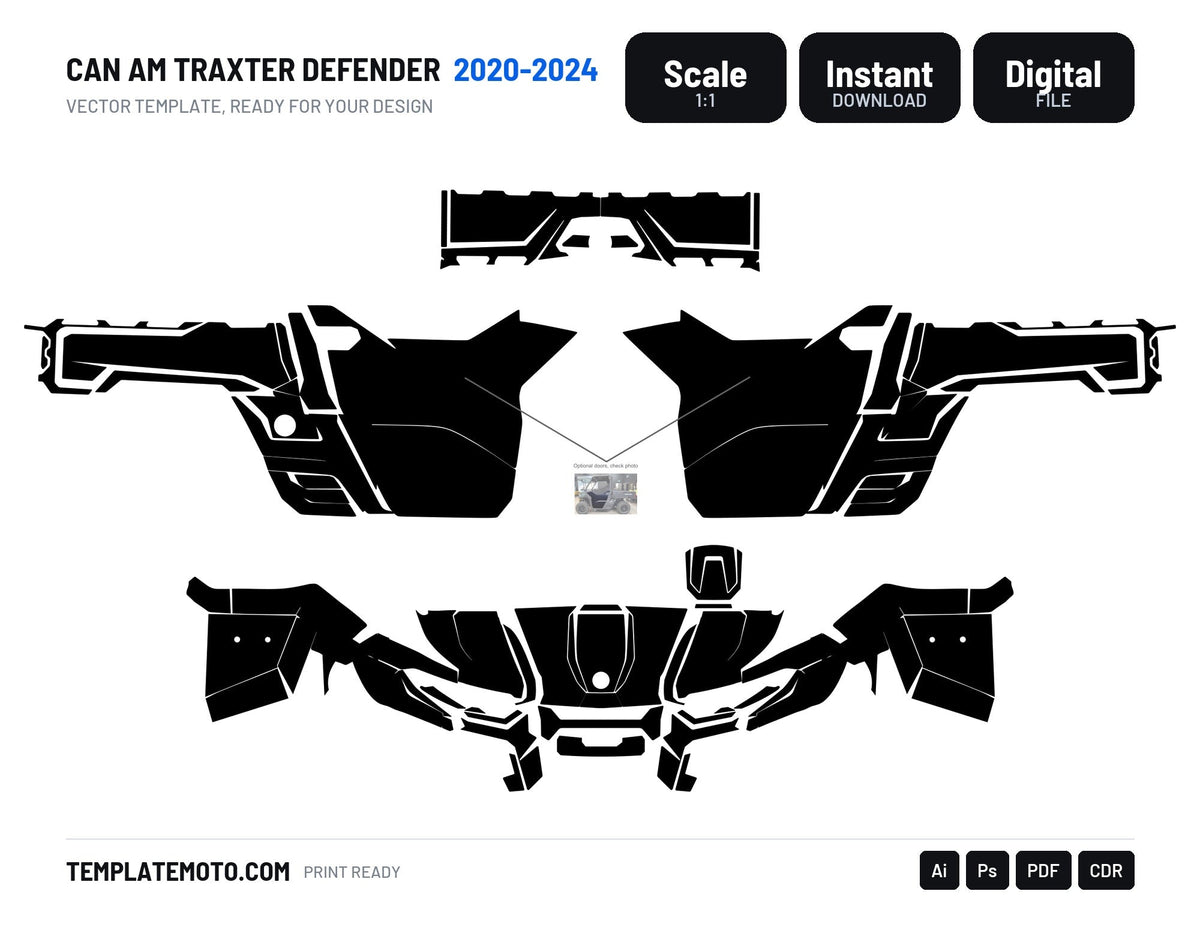
You bought a template. Here is the full path from that file to a kit stuck on a machine, with the steps where people usually lose time or vinyl.
1. Open the file and lock the template layer
Open the AI or PDF in Illustrator, or the CDR in CorelDRAW. The first thing to do is lock the layer that holds the part outlines. You will use it as a reference all the way through, and you do not want to drag a panel out of place at hour three.
Create your own layer above it. That is where the design lives.
2. Design on top, think in panels
Work across the whole kit, not panel by panel. A graphic that runs from the shroud to the side panel is what makes a kit look professional, and the template is drawn so that the overlaps line up. Keep text and logos at least 10 mm away from any edge, because that is where the vinyl folds over a curve.
3. Clip, then add bleed
Clip your artwork to each closed path. Then add bleed: offset each outline outwards by 3 to 5 mm and extend the design into it. Without bleed, a one millimetre shift on the cutter leaves a white line along the edge of the panel. With bleed, the same shift is invisible.
If your plugin or panel does this automatically, use it. Doing it by hand on a forty piece UTV kit is an afternoon.
4. Separate print data and cut contour
Your printer needs two things: the image to print, and the line to cut. Put the cut contour on its own layer or spot colour, usually named CutContour, and make sure it is a stroke with no fill. Switch off the template layer and any pink guide lines before you export.
5. Nest the pieces before you print
This is where most of the money is. Pieces laid out in a grid waste vinyl between the curves. Pieces nested by their real shape fit together and can save a quarter of the roll on a big kit. We built TrueNest for exactly that: it packs the cut pieces by their true shape inside Illustrator, on Mac and Windows.
6. Print, laminate, cut
Print on a cast vinyl for anything that wraps around a curve, calendered only for flat panels. Laminate before cutting, not after. Let the print rest a few hours so the solvent gases out, otherwise the laminate will bubble. Then cut with the contour, with a blade depth that cuts the vinyl and not the liner.
7. Install
Clean the plastics with soap and water first, then alcohol. Heat the vinyl gently for the compound curves, not until it stretches white. Work from the centre outwards and squeeze the air out as you go. Post heat the edges to set the memory of the film, which is what stops the corners lifting two weeks later.
What usually goes wrong
- No bleed. The most common one, and the most visible.
- Cut contour left inside the printable artwork, so the plotter cuts through the design.
- Design scaled to fit the sheet instead of the bike. Always check one real dimension before printing.
- Fonts not converted to outlines, so the printer opens the file and the text changes.
Pick your model and start from a file that is already right: MX and enduro, street and adventure, jet ski, UTV.

Laisser un commentaire
Ce site est protégé par hCaptcha, et la Politique de confidentialité et les Conditions de service de hCaptcha s’appliquent.